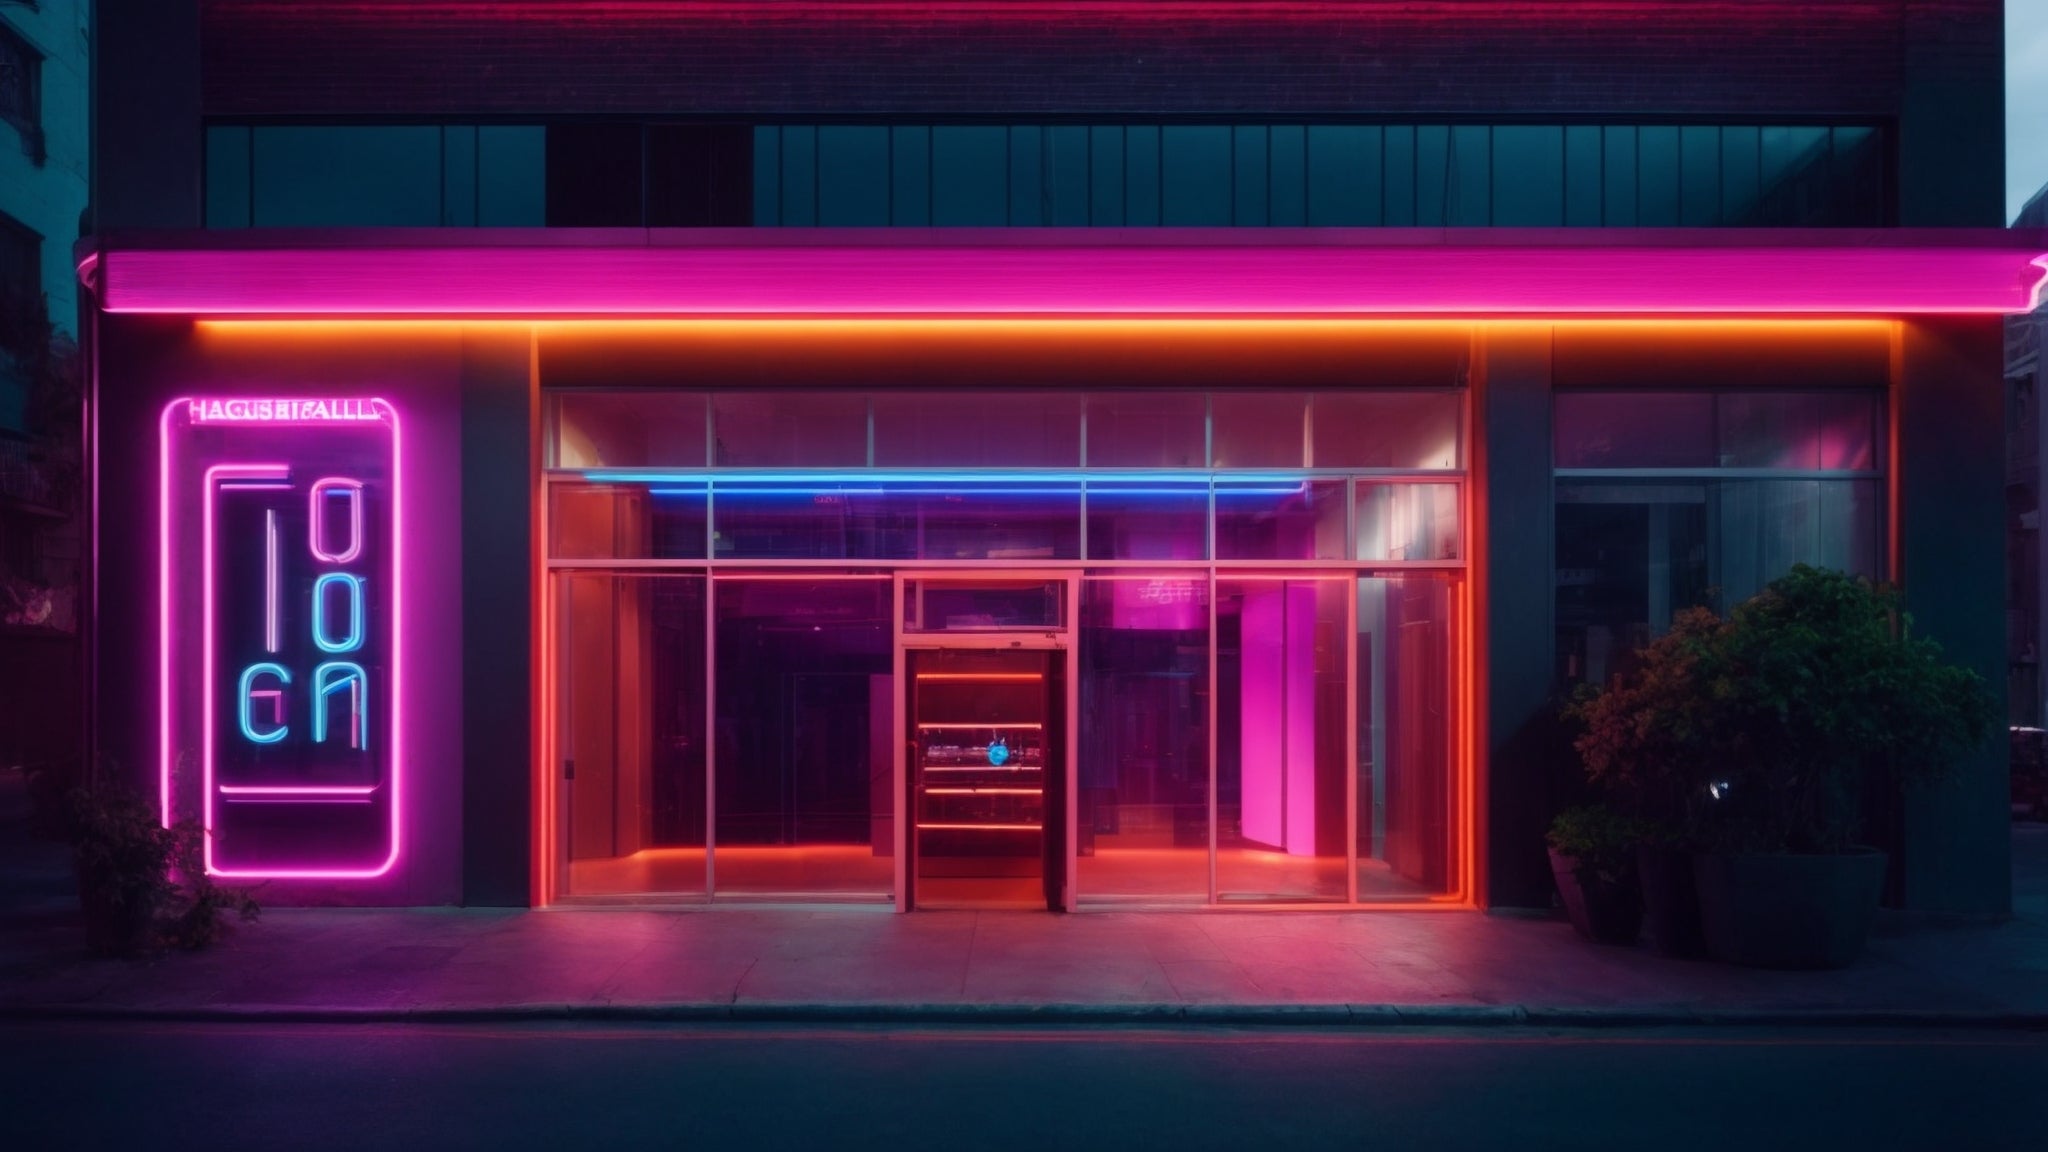
DIY Neon: Creating Your Own Neon Signage
Neon signs have always been a captivating and eye-catching form of advertising. From the glowing lights of Las Vegas to trendy shops and restaurants, neon signs have a unique ability to draw attention and create a vibrant atmosphere. If you've ever wanted to add this retro and electrifying element to your space, why not try creating your own DIY neon signage? With a few simple steps and some creativity, you can have your own custom neon sign that will impress everyone who sees it.
Materials You'll Need
Before diving into the process of creating your DIY neon sign, gather the following materials:
- Glass tubing: Neon signs are made using glass tubing that is bent into various shapes and letters.
- Neon gas: Neon gas is what gives the sign its vibrant glow.
- Transformer: A transformer is necessary to convert the electrical current to a higher voltage that can power the neon sign.
- Electrodes: Electrodes are used to seal the ends of the glass tubing and allow the electrical current to pass through.
- Electrical wires: Wires are needed to connect the electrodes to the transformer.
- Gas burner: A gas burner is used to heat the glass tubing for bending.
- Heat-resistant gloves: Since you will be working with heat, it is essential to protect your hands with heat-resistant gloves.
- Adhesive: Depending on how you plan to mount your neon sign, you may need adhesive to secure it in place.
- Design template: Create a design template to guide you during the bending process.
Step-by-Step Guide
Now that you have the necessary materials, follow these step-by-step instructions to create your DIY neon sign:
- Design your sign: Begin by creating a design template for your neon sign. You can use a computer program or simply draw it on paper. This template will serve as a guide when bending the glass tubing.
- Bend the glass tubing: Put on your heat-resistant gloves and carefully heat the glass tubing using a gas burner. Slowly and gently bend the tubing to match the design of your template. Take your time to ensure the bends are smooth and accurate. Remember to work in a well-ventilated area and follow safety precautions when working with heat.
- Seal the ends: Once the tubing is bent into the desired shape, seal the ends with electrodes. This will prevent the neon gas from escaping. Make sure the electrodes are secure and tightly attached to the glass tubing.
- Fill with gas: Connect the transformer to the electrodes and proceed to fill the tubing with neon gas. Follow the manufacturer's instructions for safely handling and filling the tubing. Be cautious as neon gas is highly flammable and should be handled with care.
- Connect the wires: Attach the electrical wires to the electrodes and connect them to the transformer. Ensure all connections are secure and well-insulated to prevent any electrical hazards. Double-check the wiring before proceeding to the next step.
- Mount your sign: Decide how you want to mount your neon sign. You can either attach it to a backing board or directly to the wall. Use adhesive to secure the sign in place, making sure it is level and securely mounted.
- Enjoy your creation: Once everything is in place, it's time to turn on the transformer and witness the mesmerizing glow of your DIY neon sign. Sit back, relax, and enjoy the ambiance it creates in your space.
Customization Tips
One of the best parts of creating your own neon sign is the freedom to customize it to your liking. Here are a few tips to help you make your neon sign truly unique:
- Choose your colors: Experiment with different colors of neon gas to create a vibrant and personalized sign. From classic red to electric blue, the color options are endless.
- Add an artistic touch: Consider incorporating additional elements into your design, such as symbols or logos, to make your sign even more visually appealing. This allows you to showcase your creativity and individuality.
- Play with fonts: Explore different lettering styles to find the one that best complements your design and captures the desired mood. Whether you prefer a bold and modern look or a vintage and nostalgic vibe, the font choice can make a significant impact.
- Size matters: Consider the space where you plan to display your neon sign and adjust the size accordingly. A larger sign can make a bold statement, while a smaller one can add a subtle touch of elegance. Take measurements and visualize how the sign will fit into your space.
- Experiment with shapes: Don't limit yourself to just words or letters. Neon signs can be shaped into various forms, allowing you to get creative with unique designs. From hearts to arrows to animals, let your imagination run wild.
- Placement is key: Think about the best location for your neon sign. Whether it's a focal point above a mantel or a subtle accent in a corner, consider how the sign will interact with the surrounding environment.
- Maintain and clean: To ensure your neon sign remains vibrant and in good condition, periodically clean it with a soft cloth and gentle cleaning solution. Avoid using abrasive materials or harsh chemicals that may damage the sign.
Creating your own DIY neon signage is a fun and rewarding project that allows you to express your creativity while adding a unique and captivating element to your space. Follow these steps, experiment with different designs and colors, and soon enough, you'll have your very own personalized neon sign that will become a conversation starter and a source of admiration for years to come.


Leave a comment
This site is protected by hCaptcha and the hCaptcha Privacy Policy and Terms of Service apply.